
How to Screenprint
Today I went to a Screenprinting Taster Session at Peacocks Visual Arts in Aberdeen.
I had the best day! Recently, I've been trying to think of new things to take my business further, and screen printing seemed like a great idea!
The class was very small, only me and one other girl, which meant I was able to spend a lot of time printing. We were first shown how to put the screen into the frame, then we tightened the clamps.
The screen had been prepared for us, so we blocked off the exposed areas that we didn't want to print. This was blocked off using packing tape.
We registered the print and put in registration tabs to ensure the prints are all going to print on the same place on each page.
We were then shown how to squeegee the ink through the screen and made our first print! The screen's needed to be flooded each time, so that the screen is ready to print again. We each printed three pieces, of the base colour. We then cleaned both sides of the screen and printed the next two colours, and we were done! What a massive sense of achievement, and it was surprisingly quick considering we were printing a three colour print.
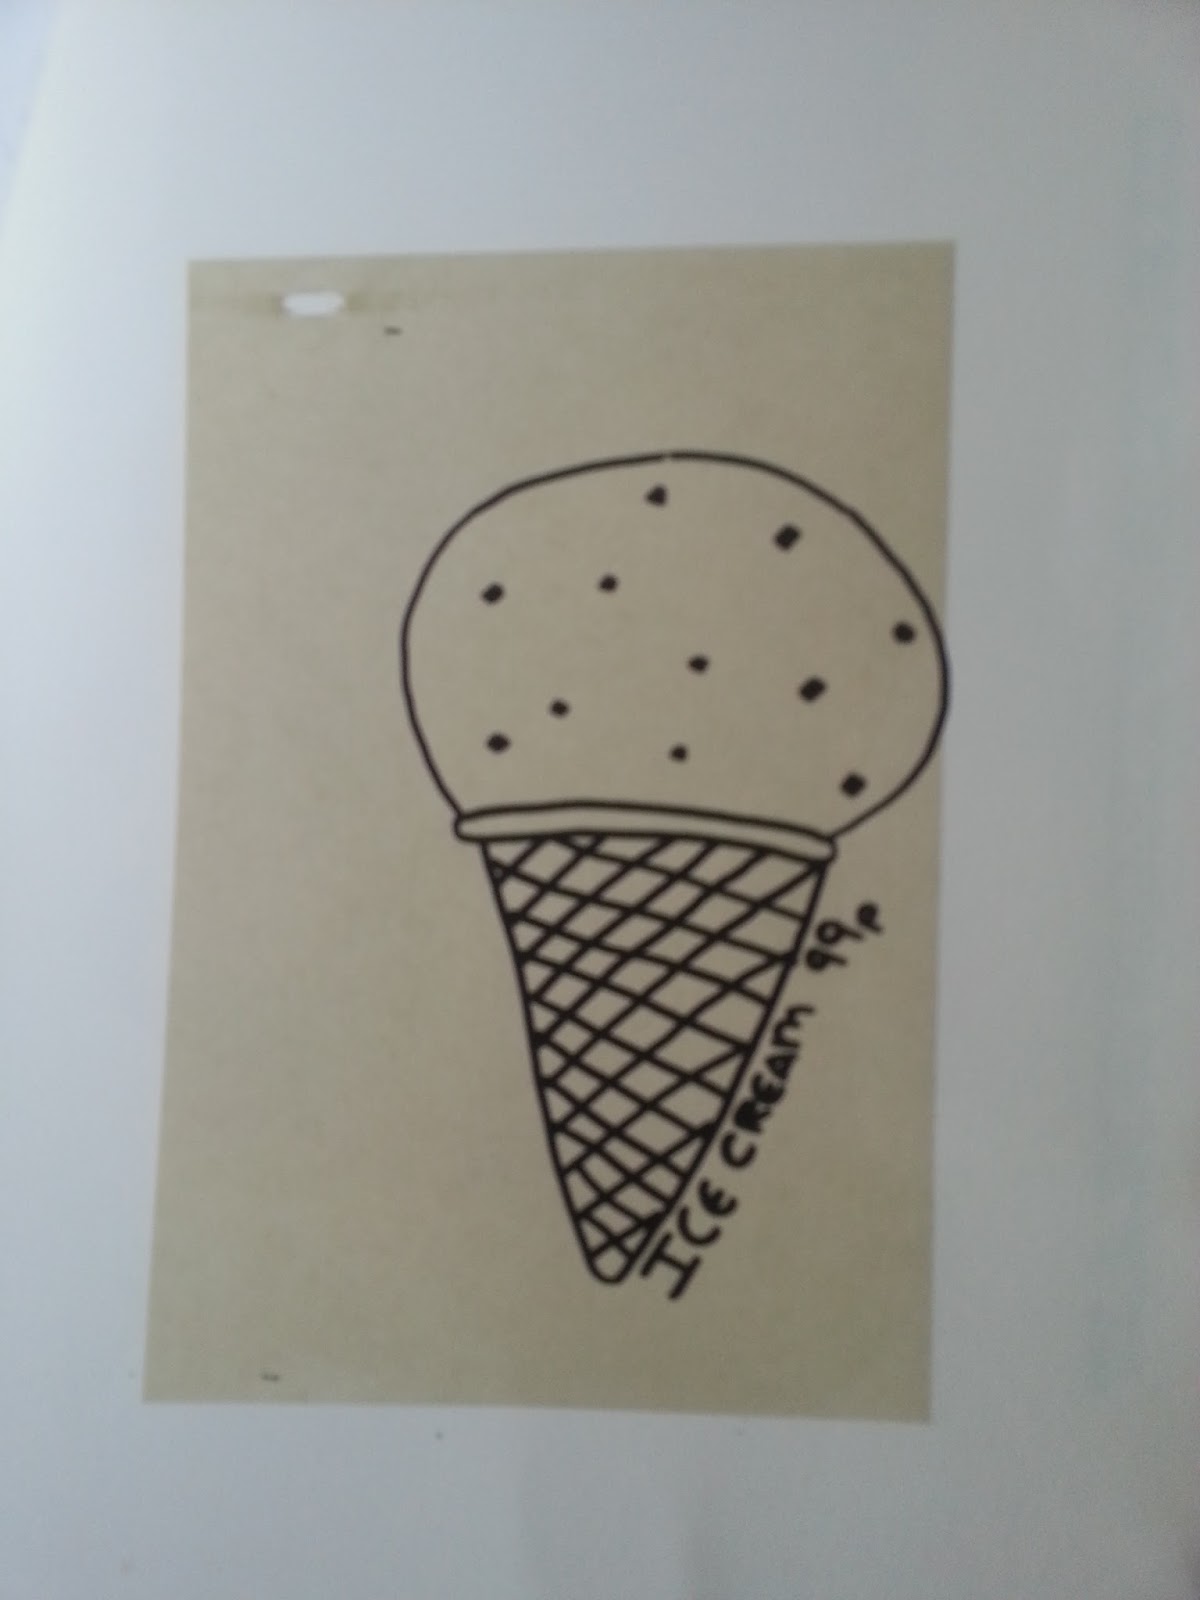
Before lunch, we were given some guidance on how to make our picture to print. I used opaque pens and true grain film. I had decided I wanted to make an old style Ice Cream sign. I started off with a few sketches as shown below.
 |
| Sketch of Ice Cream Sign |
I then copied the design on to a A4 sized piece of true grain, first I traced the black outline. Then I traced the ice cream shape, this needed to be completely coloured in so it would expose properly. I then traced the cone. I was going to add a flake, but as we only had a few hours, I decided to go with a coloured splodge behind the ice cream instead.
I got a scrap piece of paper and cut out a shape and used this to create the splodge!
I then exposed the screen with my drawings, washed out the screen and left it to dry.
I had a quick break to move my car, then was back to print my Ice Creams!
I cut all of my paper to size then picked my colours from the water based inks available and got ready to print!
Firstly I prepared the screen as before, registered the print, put the registration tabs on and got ready to print! I started with the pink splodge, then the mint ice cream, beige cone then the black outline. The outline looks pretty cool on the doofer below!
 |
| Ice Cream Outline on doofer! |
I printed a total of 12 prints, with varying success. Some of the colours came out a little uneven, but this added to the vintage affect I was going for!
Here is the final print, the mint is a little light on this picture, so you can't really see the colour, but it looks even better in real life!
 |
| Finished print! |

No comments:
Post a Comment